Friday, December 27, 2013

Wednesday is Library Day!

It's no surprise to those that know me that I love to read. And happily, I have transfered much of that love to my daughter, Mia. As this is the case, we are usually at the library for one or both of us at least once a week, particularly on Wednesdays.

In our area, the libraries has baby story time, Toddler time, and Pre-school time, where the teachers uses songs, actions, and books to teach concepts. It's a lot of fun and the kids get to wiggle while the parents/guardians participate or talk amongst themselves. Sadly, story time stopped between Thankgiving and Christmas, but it will be starting up again next week. And since I knew in advance that the library would be closed here and there around the holidays, I decided to check out a lot of books in advance, so that we would'nt be scrambling for things to read.


Since it was Christmas time, we got books about Hanakkah, Santa, Jesus, and other holiday topics. My favorite books turned out to be the ones where a song was put to pictures in book form. Like "Away In A Manger". I ended up singing through the book slowly, and Mia couldn't get enough. She even started singing with me. :)

What are your favorite library or book memories? Do you and your family have any favorite holiday books?


Tuesday, November 26, 2013

The Thankful Tree!

Seeing as Thanksgiving is at the end of this week, I thought it would be fun to do an activity about being thankful. I got out my supplies and got to work. Here's how it all went down.

Items needed:
Constuction Paper (I chose fall colors because of the season)
A large paper bag (I grabbed one on my way out of the grocery store)
Scissors
Writing Utensels (crayons, pens, dark pencils, etc.)
Clear Tape (such as scotch tape, or masking tape would also work)


Large paper bag from the grocery store.
     I cut off the very bottom of the bag, and then along one of the side seams. Then I cut "branches". I don't think that there is a right or wrong way to cut the branches.

I taped the tree to the refridgerator.
  I cut out the leaves ahead of time so that I didn't have to deal with kids and scissors.
Here are Mia and her cousins. I'm getting the tape ready, and they are waiting to put more leaves on the tree.

We're just about done! I can't get them the tape fast enough....

     I think that this activity worked really well. Brooklyn (almost 5) was able to write some of her "thankful" words by herself, but the grownups had to help the littlest kids (2 and 20 months) . The only problem that I had was not being able to get little rolls of tape ready as quickly as the kids wanted. They were very good at waiting for their turns though.

Here is a list of some of the things we were thankful for:
Fishies (gold fish crackers)
House
Clos (This is how Brooklyn spelled Clothes)
Family
Mommies and Daddies
Bed
Love
Forgiveness
Church
Scriptures
Sun
Heat
Animals
Toys
etc.


Have you tried something similar? How did it go? What suggestions or ideas do you have?


Saturday, November 16, 2013

This game is fun for kids THROUGH adults!

Many years ago, I went to a birthday party and played an interesting game that involved paper clips and baby food jars. While I was at the dollar store yesterday, I came up with an idea that works better for younger children (Scroll to the bottom to find different instructions for older kids/adults). Here's what you need:

Items:
Glass rocks (I got mine from the dollar store. You can also get them at Walmart, craft stores, or other places that sell fake flowers).
A bucket, Tupperware, jar, etc. (I would recommend 1 per kid)

WARNING: Do NOT attempt this activity if you have a migraine, headache, are irritable, or have kids that put things into their mouths.

Dollar store rocks and an old Tupperware.

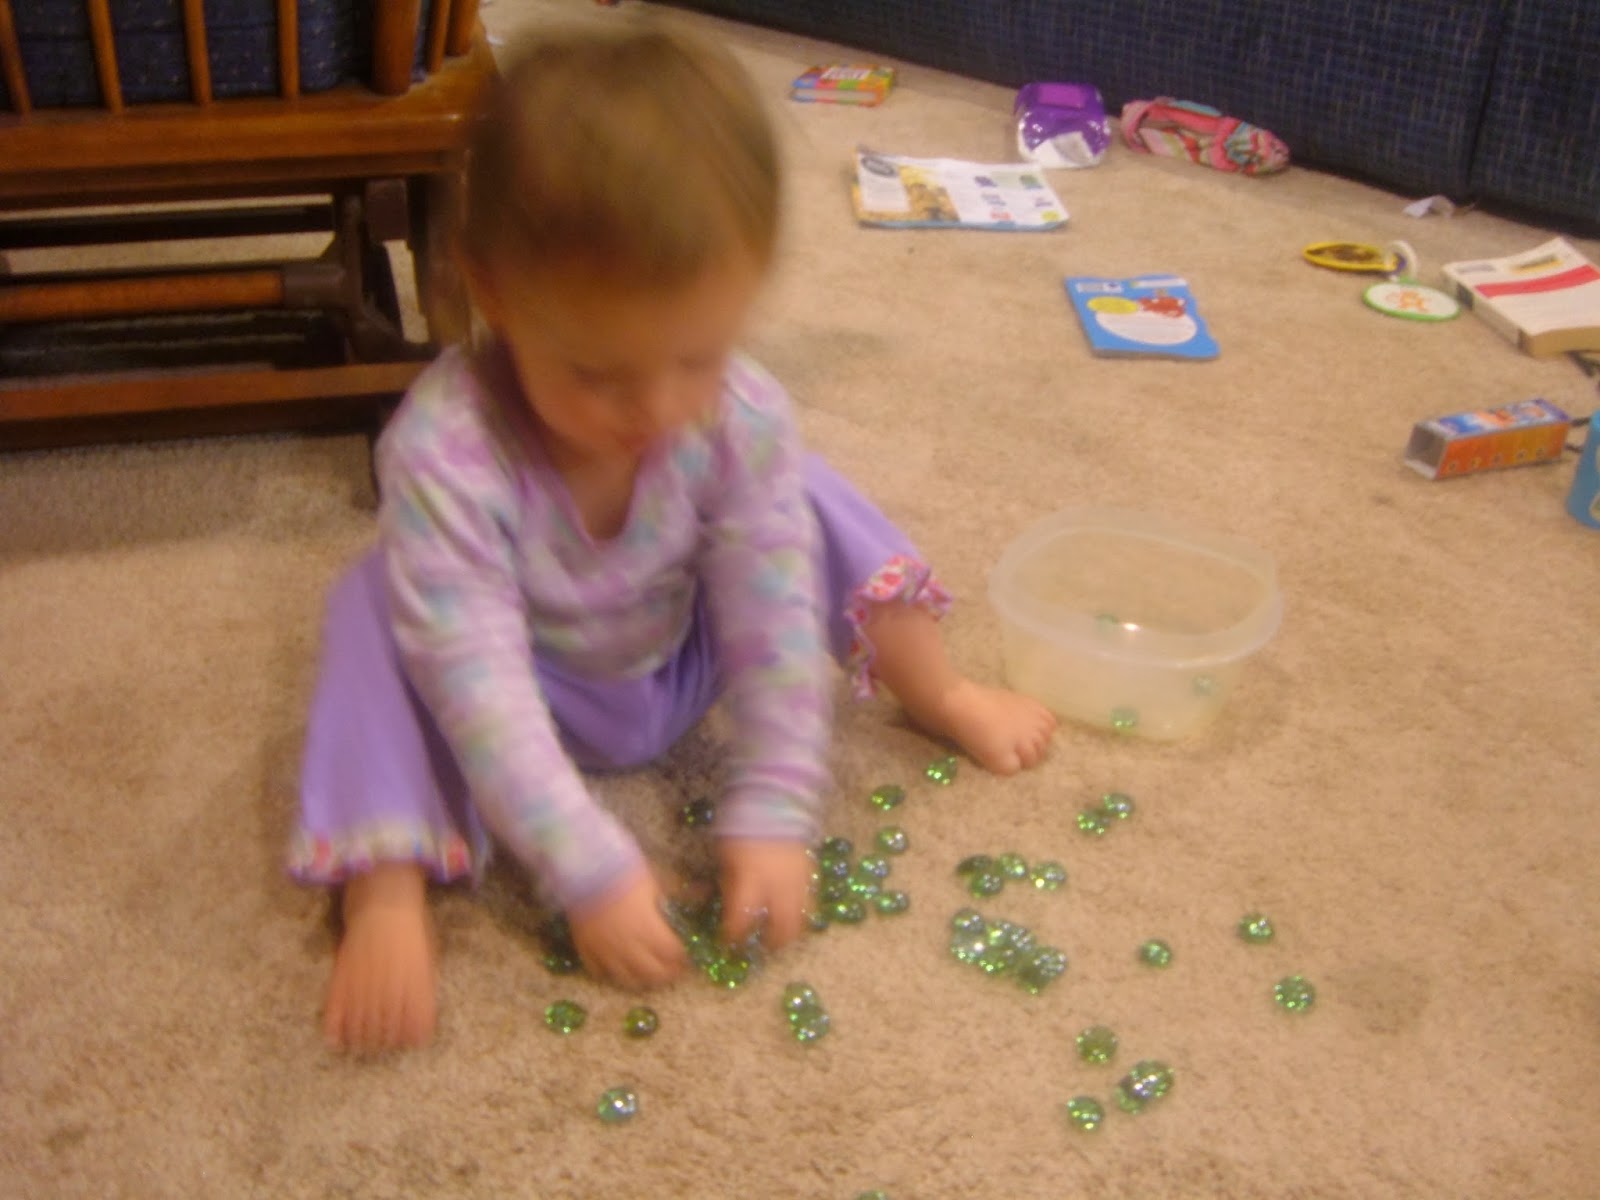
So the point of this activity can actually change depending on the age group you're dealing with. For Mia, and other kids under three, we just dropped the glass rocks into the Tupperware after raising them above our heads.

Mia quickly decided that she wanted to change all of the rules. She had a lot more fun running her fingers through the rocks and making noise. Some of the rocks still made it into the Tupperware though.


All in all, this activity produced one happy kid. :)

Older Kids (at least ages 3+): The point of the game is to drop objects (rocks, paperclips, etc) into jar of varying width openings, and from varying heights off the ground. And for this activity you will need more than just the object listed above.

Items Needed:
Glass Rocks, Paperclips, etc. (To make it fair, choose just one item that will be the same for everyone).
Tupperware, empty baby food jars, large glass jars, buckets, paper bags, etc. (for each round, everyone uses the same "container"
A chair, step stool, etc.
A piece of paper to keep score

The point of the game is to get the item (paperclip, glass rock, etc) into the smallest hole from the highest height.To start the game, everyone needs to stand in a line until it is their turn. The first person sits on the floor, holds the object (rock, paper clip, etc) at chin level, and then drops it into the "container". If it lands in the container, then they get to move to the next round. Each person does the same thing on their turn. You are allowed to lean forward a little (no major bending at the waist - you will need to decide how far is ok for your age group). The rest of the game is supposed to get a little harder each round. So if you start with a large bucket, I would suggest a large Tupperware next. Then perhaps a paper bag and a smaller bucket, and finally on down to the baby food jar.  Another variation would be to increase the height that you are dropping from, which is why you would need a step stool, or a chair. 

Friday, November 15, 2013

Shaving Cream Art


I've been hearing from a lot of moms lately about "painting" without actually using any paint. It has been suggested that I use jello, pudding, water, soap, shaving cream, and other materials. In an effort to use what I already had at home, we opted this time to use shaving cream as our medium. Here's how it all went down:

Items needed:
Shaving cream (the cheap stuff would be great for this project)
Cookie sheets or 9x13 pans
Any small toys that you want to have the kids "search for"

Participants:
1 almost 5 year old (cousin)
1 just turned 2 year old (cousin)
1 20 month old (Mia)

Messiness/Clean-up?
Super easy to clean up. It can get a little messy though, so I would suggest having towels nearby and perhaps putting a plastic table cloth on the table.


I started by adding shaving cream and Cheerios for texture. You could of course add toys or something else to it.

I had to practically shove Mia's hands into the shaving cream. As you can tell by her face, she didn't like it.  Maybe it was because she had just woken up from a nap and was unusually grumpy.

This is Mia's 2 year old cousin Jenna. Apparently, Jenna didn't like this activity the first few times she did it either. But now she loves it!

In fact, she loves it so much that she gave her "baby" a bath in shaving cream.

This is Mia's almost 5 year old cousin, Brooklyn. Shaving Cream Art happens to be one of Brooklyn's favorite activities.


I definitely plan to try this activity again, but this time I will do it when Mia is in a better mood.

Have any of you ever tried an activity like this? Did you use Shaving Cream or something else? How did it go? What suggestions or tips do you have?

Thursday, November 14, 2013

Splish, Splash, Pop!

Today we decided to go swimming for our rainy day activity. But instead of going outside,  we went to the community rec center. They have a small, shallow pool for children to swim in before the swim lessons start. If you have more than one kid, then you can do as my sister in law does. She takes both of her girls swimming, and then feeds the younger one snacks while the older is doing her official swim lessons.

One of Mia's cousins in the background. The other is barely in the picture off to the left. You can see her pink, orange, and yellow goggles.

Once we got home, I decided that it would be fun to have some popcorn (which explains the POP! in the title of this post).

So if you think that your children would like to go swimming, check out your local community center or recreation center to see what they offer and when they are open.

Do any of you have other ideas? What are your favorite after swimming snacks?

Wednesday, November 13, 2013

Yabba-dabba-don't?!

On Veternas Day, we also went to the LeMay Car Museum in Tacoma, Washington. It was awesome seeing all those cars beautifully displayed. Highlights included THE FLINSTONES car from the movie (not a replica, but THE actual car), and a 1983 Delorean (I don't think that this was the one from the movie. The sign said that it was made popular by the movie Back to the Future).

Official Flinstones car used in the movies.


1983 Delorean. This exact car was not in the movie, but it's still awesome to see.

I was quite surprised to find a car from 1899. I really didn't know that they had cars that early.

This car was from 1899 and ran on steam.

Mia was just fine in this museum. She had LOT of room in the aisles to run and wiggle and do just about anything. She did get a little squirrelly at on point, so I busted out the handy dandy stomp your feet as you walk, and kick your legs as you walked. It worked perfectly. I think that the best part for the older kids was the virtual driving area, so make sure that you plan in advance for that. You will need an extra ticket.

What kinds of car activities have you tried with your kids? What did you do? Did it work well?


Don't touch the glass!

Museums can be a great place to go on a rainy day. We went to the Tacoma Glass Museum on Veterans Day, since we were able to get in for free through the military.  They had a lot of really cool stuff to look at, but our favorite part (including Mia's) was watching them actually blow glass in the studio.

This is what the entire setup looked like.

This guy is working on making a Christmas ornament . I checked out the price in the gift shop, and it was $40! Sorry, but I'm not paying that much for ONE ornament, unless it's a class where I get to make it myself.

This is the very beginning or the ornament. They roll out the molten glass to look a little like a Roma tomato and then dip it into colored glass chips. At that point they heat it again and repeat until they have the colors the way they want them. Then they blow it and shape it.

Aside from loving the studio, the actual exhibits were pretty cool too. Mia didn't do so well in them though, since she wasn't allowed to touch anything. Fortunately the musuem had a place where kids could color for a while. Mia did a great job coloring. :)

I guess that a GLASS musuem was NOT the best idea for a small child, or any child with a lot of energy. Next time I think I will find something that has more hands on activities for children. However, if you are going with a small child that will stay in the stroller, I think you would be fine here.

What kind of musuems have you found that are great for kids? Where are they located? 

Those poor pipe cleaners....

I got together with some other moms this past spring and one mom showed us how to play with pipe cleaners and a strainer (the kind you would use after cooking pasta).  At the time, I thought that it was a clever idea, but in all of our usual busyness, I quickly forgot about it. It wasn't until recently that I remembered as I was trying to figure out something for Mia to do while I was working on some household and bugdgetting things. I got out the pipe cleaners, strainer, and of course my camera, and sat down with her on the floor. I started poking the pipe cleaners through the holes at random, and watched a big smile spread across her face. She caught on quickly and has spent a lot of time working her way through the holes with no complaints.


It doesn't look like it in the picture, but Mia actually had nearly 20 pipecleaners out at one point. 

For those of you with toddlers or pre-schoolers, have you tried this? Did it work for you? Do you have any tips or hints to share?

Saturday, November 9, 2013

Let's give a hand to the turkey!

With Thanksgiving coming up at the end of the month, my crafting thoughts turned toward my much younger school days. Many of you probably did a craft like this at some time in elementary school, or girl scouts, or something like that. I decided that I would give it a try with my 19 month old.

Items needed:

Fall colored construction paper
Scissors
Scotch tape (or masking tape would probably work)
Crayons, colored pencils, or markers (if you use white paper like I did)
1 paper bag (I used a small bag, but if you are doing this with multiple kids, then I would use a larger back for the turkey body)

I started by tracing her hands onto a piece of white paper. You could also use colored paper, I chose to let Mia color her own "feathers". Since she's so young, I also did the cutting. Older kids could probably do the cutting themselves, with supervision of course.


Once the hands or "feathers" were colored by both of us (we took turns), we took them all to the refrigerator. Where you decide to place the turkey is up to you (i.e. the wall, refrigerator, dish washer, etc).

I am adding scotch tape to the lesser colored sides of the hands.

And now it's pretty much like "pin the tale on the donkey", only without the blindfold. I handed the ready taped "feathers" to Mia, who then put them on the refrigerator.

I forgot to mention that I cut out the turkey "body" by just making a bowling ball shap on a paper bag that I grabbed on the way out of WINCO, along with my other groceries.


After the "feathers" were all up on the refridgerator, I arranged them around the turkey until it looked like this.


So there you go! How has it worked with your kids? Any tips, comments, or suggestions?


Friday, November 8, 2013

By way of further introduction...


This is my husband Jacob, and our daughter Mia.

And this is me, Andie, being very silly with Mia. We do that a lot.

What do I do with my kid when it rains?

I am the mother of a toddler, and an aunt to 2 nieces that live really close by. I grew up in Northern California, but have also spent significant time living in Utah, and now live in the greater Seattle area of Washington state. Like many of you, I've lived somewhere that rains (or snows) a lot. As an adult, I can keep myself entertained just fine on days when going outside isn't really an option. But now I have a toddler, and I'm drawing a blank. Perhaps many of you are too. And if you are anything like me, you DON'T want to park your kids in front of the television or computer for 8 hours every day, just because it won't stop raining. So that brings me to the purpose of this blog.

WHAT DO I DO WITH MY KIDS WHEN IT RAINS?

I don't think that I know the answer to that question yet, but I'm hoping to find out. I hope that many of you will join me in this adventure, and together we can enjoy more quality time with our kids, especially when we are all feeling squirelly during a rain storm.